Frontplate
Summary
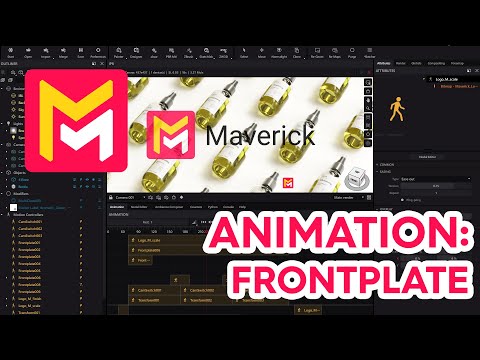
This YouTube tutorial demonstrates how to use the "front plate" feature in Maverick Render animation software. The tutorial explains how to add transitions and logos to animations by adjusting opacity, color, and duration using keyframes. Specific techniques like fade-in/fade-out effects and ping-pong options are showcased. The process of importing and positioning PNG logos with alpha transparency is detailed. Finally, the video concludes by showing the final rendered animation with the added transitions and logos.
F.A.Q.
-
What is the Front Plate feature in Maverick Render, and what does it allow users to do? The Front Plate feature in Maverick Render is a motion controller that enables users to easily add transitions, logos, and other graphic elements to their animations. It allows you to control opacity, color, and image overlays over existing video footage, facilitating fade-in/out effects, camera transitions, and the incorporation of branding elements like logos.
-
How does the opacity parameter in a Front Plate work? The opacity parameter in a Front Plate controls the transparency of the effect. By setting the initial and final opacity values, you can make the effect transition from transparent to solid or vice-versa. For instance, an opacity that transitions from 0 to 1 will create a fade-in effect, while an opacity that transitions from 1 to 0 will create a fade-out effect. The ping-pong option reverses the transition, allowing for a back-and-forth effect.
-
How can I create a transition between two camera angles using Front Plates? To create a transition between camera angles using Front Plates, you would add a Front Plate to the timeline and position it between the two camera cuts. Set the initial opacity to 0 and the final opacity to 1. If you want the effect to reverse, use the ping pong option. This will create a transition from transparent to fully opaque, effectively masking one camera's view as the next becomes visible.
-
How are logos added and positioned within an animation using Front Plates? Logos are added to an animation by dragging and dropping a PNG file with alpha transparency into the Front Plate's logo plug. To make the logo appear at a specific position, you can adjust its scale and position using the provided parameters. Setting the same start and end values for scale and position will ensure that the logo remains fixed in place throughout its duration.
-
How can I make a logo appear and disappear smoothly in my animation? To create a smooth appearance and disappearance effect for a logo, you can animate the logo's opacity over time using the opacity gradient. Set the initial opacity to 0 to make it start transparent and increase it to 1. Then, reduce it to 0 at the end to make it fade out. You can also use control points and adjust the easing in the gradient to control the speed of the fade-in/fade-out.
-
What is the purpose of the "ping pong" option when using Front Plates? The "ping pong" option within the Front Plate motion controller reverses the transition effect. Instead of just transitioning from point A to point B, the animation will move from A to B and then back to A, effectively inverting the animation. This is useful when you want to create a back-and-forth motion effect or when using a transition to uncover a camera shot and then return to the previous camera view.
-
How do easing options affect the transitions created using front plates? Easing options modify the speed of transitions over time, using gradients to adjust how fast or slow the transition takes at different points. For example, an ease-out with maximum tension can cause a fast initial transition that slows down towards the end. This allows for dynamic visual effects, such as a fade appearing rapidly and then lingering longer, and is adjustable with tangent editing and control point addition to create smooth or stylized transitions.
-
What type of files are best used for logos with the front plate feature? PNG files with alpha transparency are best used for logos when utilizing the front plate feature in Maverick Render. Alpha transparency allows the background of the logo to be rendered transparent, so it blends well with the video being animated. It also ensures that the background is see-through, instead of a solid, opaque square, preventing a non-seamless and distracting integration with the underlying video.