Metal Gradient Color
Summary
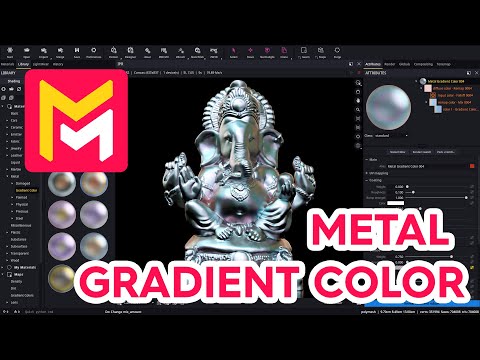
This YouTube video tutorial demonstrates how to create metallic materials in Maverick Render with a gradient color that changes depending on the viewing angle. The tutorial covers creating a coated metal material, using falloff and remap nodes to control color shifts, and incorporating pre-made gradient colors from the software's library. It explains how to adjust color ramps, gamma, and mix nodes to fine-tune the final appearance, resulting in a pearly or iridescent effect. The presenter also shows how to isolate different parts of the node editor for easier visualization. Finally, the tutorial showcases the application of this technique to achieve visually appealing results.
F.A.Q.
-
What is the main concept behind creating "pearly" or "iridescent" metal finishes in Maverick Render? The key concept is to make the metal's color dependent on the viewing angle. This is achieved by using a falloff node that generates a color ramp based on the viewing angle. This color ramp is then manipulated with gradient colors to produce the desired pearly or iridescent effects.
-
What role does the "falloff node" play in creating view-dependent metal materials? The falloff node is crucial as it generates a color ramp that varies based on the viewing angle. It essentially determines which color will be applied to the surface based on how the viewer is oriented relative to the surface normal. This makes the color appear to shift as you move around the object, which is the core of the pearlescent or iridescent effect.
-
How does the "gradient color node" contribute to the final look of the metal? The gradient color node provides a range of colors that are applied to the falloff ramp. By using a gradient instead of a single color, it allows for a more varied and complex color transition as the viewing angle changes, creating the pearly or iridescent effect. The type of transition (step vs. smooth) also influences the effect.
-
What is the purpose of the "remap node" in this workflow? The remap node is a recent addition, and it acts as a bridge between the falloff node and the gradient color. It takes the falloff node's view-dependent ramp as input and then maps the colors from the gradient color onto that ramp. This enables precise control over how the gradient affects the metal's color based on the viewing angle.
-
How can I preview the effects of the nodes in the viewport? Maverick Render has a "show in viewport" toggle on certain nodes. This allows you to isolate the output of that specific node in the viewport, making it much easier to understand and adjust the effects of individual nodes on the overall material.
-
The tutorial mentions contaminating the gradient color with a fixed color. What does this achieve? Contaminating the gradient color with a fixed color (using a mix node) allows you to control the intensity of the gradient's impact on the metal's color. It's a way to balance between the full effect of the iridescent gradient and a more solid base color. It gives you more control over the overall appearance of the material and gives the artist more creative freedom.
-
Are there pre-made gradient colors available in Maverick Render, and how do I use them? Yes, there is a dedicated area in the maps library that contains pre-made gradient colors. You can simply drag and drop these gradient colors into your nodal editor to use them, significantly speeding up your workflow and providing a great starting point for creating metallic effects.
-
Can these view-dependent metal materials be easily adjusted once they're created? Yes, the materials can be easily adjusted by modifying the gradient color, the mix amount between the gradient and a fixed color, and the falloff gamma control. These parameters provide a flexible and intuitive way to fine-tune the metal's appearance after its creation. You can also simply use the pre-made metals and make your adjustments from there.