Shadow Catcher
Summary
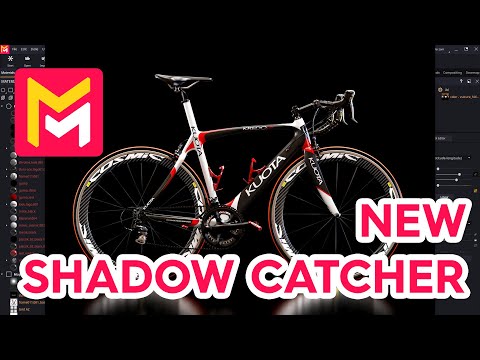
This YouTube video tutorial demonstrates improvements to the shadow catcher feature in Maverick Render software. Key updates include enhanced mirror-like reflections, a region-of-interest tool for controlling shadow and reflection areas, and global illumination overrides for better control in dark scenes. The tutorial showcases these features through practical examples and explains how they simplify compositing in applications like Photoshop, resulting in cleaner separation of shadows, reflections, and the main subject. Improved alpha channels in rendered image outputs ensure seamless background integration. Finally, the video highlights the streamlined workflow for product photography using the updated shadow catcher tools.
F.A.Q.
-
How do I easily create a shadow catcher in Maverick Render? The simplest way to create a shadow catcher is by using the pre-made floor objects found in the objects library. Dragging and dropping one of these onto your scene automatically generates a floor object with a shadow catcher applied beneath your model.
-
What are the key improvements to the shadow catcher node in the latest release? The major enhancement is the rendering of reflections, allowing for true mirror-like reflections by increasing the reflection weight and lowering the roughness. Additionally, the new "region of interest" feature allows you to constrain the shadows and reflections to a defined elliptical area, offering better control over the effect.
-
What does the "indirect reflection" toggle do? The "indirect reflection" toggle controls whether the floor object with a shadow catcher participates in indirect illumination. When enabled, it allows for mutual reflection between the floor and other objects. This is often undesirable, so it's disabled by default.
-
How does the "region of interest" (ROI) feature work? The ROI allows you to restrict the area where the shadow catcher’s shadows and reflections are applied. By enabling "effect shadows," "effect reflection," and "show clipping," you can visualize and adjust the elliptical region. The center of the ROI is tied to the pivot point of the object with the shadow catcher.
-
How can I adjust the global illumination (GI) of the shadow catcher? In the shadow catcher node's extended rollups, under the "global illumination" section, you'll find controls to override the color and intensity of the GI emitted by the shadow catcher. This is particularly helpful when working with dark or black ambiences, ensuring that reflections in the model remain visible rather than being completely obscured.
-
How do the pre-configured ambiences help with the shadow catcher? The ambiences library has been redesigned to take advantage of the new shadow catcher. Many entries come pre-configured with GI overrides, ensuring good interaction between the shadow catcher and the scene, particularly in dark settings. Using neutral-colored backgrounds is also beneficial for product photography because you can easily adjust lighting without affecting the backdrop.
-
What improvements have been made to the render set system with the new shadow catcher? The new shadow catcher now produces render sets with proper alpha channels. This means when you output separate layers for the scene reflection and shadows, they will have transparent backgrounds, making compositing in programs like Photoshop much simpler. The composite PNG also includes shadows and reflections with built-in alpha, allowing them to blend seamlessly over any background.
-
How does the improved render set output simplify compositing? By including alpha channels with scene reflections and shadows in the render set outputs (both in individual layers and the composite PNG), Maverick Render makes compositing significantly easier. You can drop the composite PNG onto any background, and the model, shadows, and reflections will automatically blend correctly, which is particularly helpful for web design.