Workflow
Summary
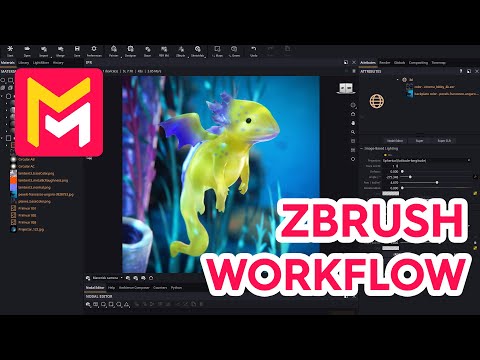
This YouTube video tutorial demonstrates a ZBrush to Maverick Render workflow. It covers importing and merging models, adjusting lighting and materials (including subsurface scattering), utilizing the new one-click model update feature, and employing environment adjustments and camera controls within Maverick Render. The tutorial uses a water dragon model as an example, showcasing techniques like adding backplates and using projectors. Finally, it highlights the integration of external models, like coral from Sketchfab, through the model merging function in Maverick Render.
F.A.Q.
-
How should I prepare my ZBrush model for import into Maverick Render? Before exporting, lower the subdivision level of your ZBrush model's subtools to reduce the polygon count, making the export and import process more efficient. While Maverick can handle millions of polygons, a lower count will speed up the workflow. Export your model as an FBX file. Scale is important for physical rendering, so note that ZBrush models often don't have a real-world scale initially.
-
What is the best way to import my ZBrush model into Maverick Render? Use the "ZBrush Toolbar" button within Maverick to import your FBX file. You will also need to select an ambience to load along with it. After importing, change the navigation pivot to "surface" for easier manipulation of the model in Maverick's viewport.
-
How do I add a background to my scene in Maverick Render? You can drop environment presets from the library or set a background image by dragging the image directly onto the empty area of the IPR window. To ensure the render matches the backplate resolution use the "send file text resolution" button. Remember that ambiences can be rotated using the "ambience composer panel".
-
How can I set up lighting for my ZBrush model effectively? Start by adding gradient lights from the lighting library, positioning them using the "normalite" tool. Add spotlights from the ambience composer, optionally adding projector textures for unique light effects. Adjust the spotlight angle to control the spread of the light. The light mixer is then used to adjust each light's intensity and hue. When the adjustments are done, consolidate them by choosing "consolidate changes".
-
How do I work with materials and subsurface scattering for my model? Adjust material properties like specular and roughness to create reflective surfaces. For subsurface scattering, use the "extended attributes" of the material, copying the diffuse color map to the subsurface slot. Modify the subsurface weight and scale, and adjust the color by shifting the hue. Then, use backlighting to enhance the translucency of these effects.
-
What if I need to make changes to my ZBrush model after importing it into Maverick Render? Maverick has a "one-click model update" feature. Re-export your model from ZBrush after making changes, overwriting the original FBX. Then, use the "update brush model" in Maverick. The scene will update automatically without losing your materials, lighting or camera settings. This also works with poly paint changes and re-exporting.
-
How can I merge other 3D models into my scene from outside sources? To merge other models, like a coral model from Sketchfab, download the file (preferably in glTF format), decompress it, and then select the file using Maverick's "merge sketchfab model" option. Pay attention to scale and make sure to add objects to the scene. In case there are collisions in object or camera names in the merged model, select "add to scene" but not cameras.
-
How do I finalize my scene and prepare for rendering in Maverick Render? Adjust the camera by changing focal distance, set a viewpoint, and optionally use depth of field. You can also use the depth of field pre-visualizer for more precise control. Lock aperture in the camera to adjust depth of field without affecting exposure. Make final adjustments to tone mapping, contrast, midtones, black tones and vignetting. Activate the AI denoiser in the IPR window for faster, cleaner renders.
