Workflow 1
Summary
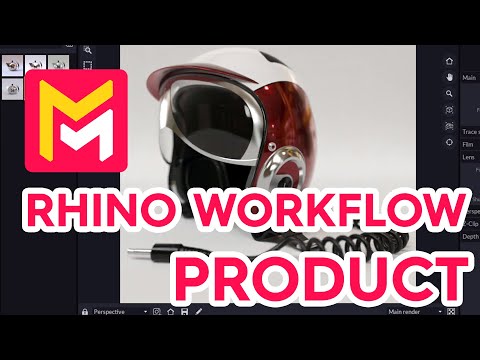
This YouTube video tutorial demonstrates a workflow for creating photorealistic product visualizations using Maverick Render. It focuses on a plugin that bridges Rhino 3D modeling software with Maverick Render, enabling users to seamlessly transfer models. The tutorial covers importing models, applying materials, lighting techniques, and rendering settings within Maverick Render. Specific features highlighted include using layers for organization, material application methods, depth of field control, and the use of pre-made lighting setups. Finally, the video shows how to create a product turntable animation.
F.A.Q.
-
How do I install the Rhino to Maverick bridge plugin? The Rhino to Maverick bridge plugin can be downloaded for free from the "Try" section of the Maverick Render website. After downloading, run the installer. It will automatically detect the versions of Rhino installed on your computer. Once installed, a Maverick toolbar should appear in the Rhino UI. If it doesn't, you can right-click on any toolbar in Rhino and activate the "Rhino to Maverick" toolbar.
-
What are the main functions of the Rhino to Maverick toolbar? The Rhino to Maverick toolbar has three primary buttons: the first sends the entire scene or selected objects to Maverick; the second updates the whole scene or selection in Maverick (keeping previously applied materials on existing objects while new objects will have their auto converted material from rhino); and the third provides a link to Maverick's YouTube channel or blog for tutorials and other information.
-
Why is it recommended to use layers in Rhino when preparing models for Maverick? Organizing objects per material using layers in Rhino is highly recommended. This is the most efficient method to manage your scenes in both Rhino and Maverick, allowing for easier material assignment to groups of objects in the objects panel.
-
How are objects organized in Maverick after importing from Rhino? In Maverick, the organization of objects mirrors how they are structured in Rhino, including the use of layers. The objects panel in Maverick reflects the layering system from Rhino, simplifying material application and management.
-
How can I apply and adjust materials in Maverick? Maverick has a shading library with a variety of materials to choose from. You can apply materials by dragging them onto objects in the IPR (Interactive Preview Render) or onto groups of objects in the objects panel. The UV mapping and real size attributes of materials can be adjusted in the material properties for custom effects.
-
How can I achieve realistic lighting and camera effects in Maverick? Maverick's lighting library offers pre-made ambiences that combine lights, an environment, and a floor suitable for product presentation. There are tools to configure camera viewpoints, enable depth of field with autofocus options, and adjust blur amount. You can also use the light mixer to modify lighting parameters independently without needing to re-render, allowing for quick variations.
-
How can I create turntable animations of my models in Maverick? Maverick has a turntable feature where you can set object rotation and preview the animation. You can lock the room in the object's panel to ensure only the model rotates. The turntable render quality can be configured, including enabling the denoiser. You can also enable video encoding for the turntable output.
-
What render settings should I use for high-quality images in Maverick? For still frame rendering, configure the output resolution and filename. Select PNG 16-bit as the output file format and enable the denoiser. You can lower the target SL to 9 or even 8 for still frame or turntable renders respectively to achieve faster render times.