Lens Improvements
Summary
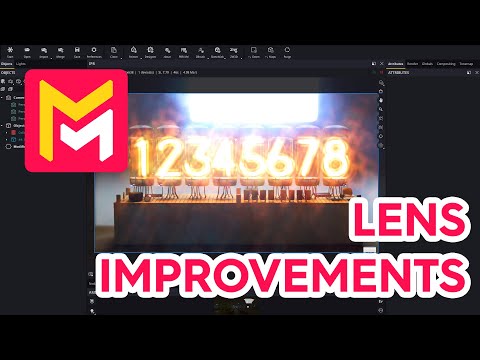
This YouTube video tutorial demonstrates new lens improvement features in the Maverick Render software. Key additions include Bloom and glare controls with temperature adjustments, and new map types—dirt, aperture, obstacle, and pattern—offering customizable lens effects like dust, scratches, and diffraction. The tutorial shows how to use these maps and the HDR remap feature to precisely control bloom and glare effects in specific image areas. Various examples illustrate the creative possibilities of these new tools for realistic and stylized rendering. Finally, the video encourages viewers to experiment with the software's parameters.
F.A.Q.
-
What are the new controls for Bloom and Glare in Maverick Render? Maverick Render's updated Bloom and Glare system introduces new temperature controls that allow for artistic manipulation of the overall hue of these effects. This means you can now customize the color tint of bloom and glare, adding creative flexibility to your renders.
-
How can I simulate dust and speckles on my lens in Maverick Render? The new "dirt map" feature in Maverick Render enables the simulation of dust and speckles on a lens. This is achieved by applying a texture, often derived from images with heavy bokeh, that affects the areas of the image where bloom and glare are present, adding realistic imperfections to your renders. These maps are available in a dedicated "Lens Maps" section within the shading library.
-
What is an "aperture map" in Maverick Render and how can I use it? The aperture map allows you to override the camera's aperture shape, thereby customizing the shape of the glare effect. By utilizing various textures, including procedural gradients, you can achieve a wide range of unique diffraction patterns and play with parameters such as the fringe slider, which controls chromatic diffraction, for creative lens effects.
-
How can I simulate lens scratches or defects using the new features in Maverick Render? The "obstacle map" feature is designed specifically to simulate lens scratches or defects. By applying a texture designed with these imperfections, you can create realistic variations and visual disruptions, adding depth and authenticity to your renderings.
-
What is a "pattern map" and how does it differ from other lens effects in Maverick Render? The "pattern map" provides a way to manually override the physically correct diffraction. It uses a procedural glare node with parameters to create custom diffraction patterns. This offers artists a great way to create unique and non-realistic glare and diffraction effects, going beyond realistic lens simulation.
-
How can I isolate the Bloom and Glare effects to specific areas in my renders? Maverick Render uses HDR remap to isolate these effects. By enabling low-end and showing clipping, you can create a mask to control where the bloom and glare appear. You can adjust the cutoff and multiplier values to isolate specific, usually bright, regions of your image, and apply effects only to those areas. This method is particularly useful for controlling the visual impact of Bloom and Glare on different parts of a rendered scene, like a lightbulb filament versus the rest of the image.
-
How do I use the HDR remap feature to apply lens effects to specific areas? By using the HDR Remap feature, you can isolate the high brightness areas of an image. Initially, by setting low-end parameters, and then refining with high-end values, you can create a mask that defines the areas where the bloom and glare effects will operate. Once the target area is isolated, you can adjust the multiplier to fine-tune the strength of the effect on that region, and apply obstacle, dirt or aperture maps to these areas.
-
Can you adjust how lens effects like dirt maps respond to image dimensions? Yes, Maverick Render allows you to adjust the UVs of the dirt map so it adapts to your image's aspect ratio. This ensures that the dirt map appears as intended, without stretching or compressing unnaturally, regardless of the specific aspect ratio of your render. This is particularly helpful in ensuring consistent and proper application of textures in different scenes.