Motion Controllers with Cameras
Summary
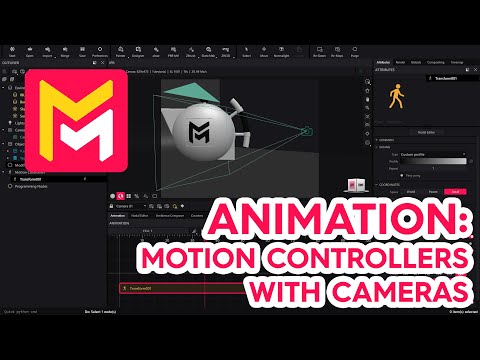
This YouTube video tutorial demonstrates camera animation techniques in Maverick Render software. The tutorial covers adding motion controllers to cameras to achieve various movements, including pullbacks, rotations, and pivoting around objects. It explains how to create camera assemblies for smoother animations and utilize features like ping pong effects for cyclical motion. The video also shows how to switch between multiple cameras within an animation, concluding with a comprehensive example combining different animation types. Finally, it addresses troubleshooting issues such as animation speed and abrupt transitions.
F.A.Q.
-
How can I animate a camera's position in Maverick Render? To animate a camera's position, you can add a transform motion controller to the camera within the timeline. By adjusting the camera's position on the X, Y, or Z axes at different keyframes, you can create movements like a camera pullback or push in. These initial and final positions set the camera's trajectory over the timeline's duration.
-
How can I rotate a camera around a specific object as a pivot? To rotate a camera around a pivot point (like a teapot), you need to activate the pivot option in the coordinates rollup of the motion controller and then select the desired object as the pivot. After that, configure the rotation (e.g., on the Z-axis) of the camera and the rotation will occur around the chosen object instead of the camera's origin.
-
Why is it recommended to animate a camera within an assembly? Animating a camera within an assembly allows for easier management and more complex animations. By dropping the camera into an assembly, you can then add motion controllers to the assembly itself, which affects the camera's movement as a whole, making transformations and rotations more intuitive to control.
-
What is the 'ping pong' option and how is it used for camera animation? The 'ping pong' option in a motion controller allows the camera to move back and forth smoothly along its animated path. This is useful for creating cyclical effects, such as a camera that moves up and then down repeatedly. By adjusting the tension and ease-out options, you can further refine how smooth and continuous the back-and-forth transitions appear.
-
How can you create a camera 'nodding' effect? To create a 'nodding' effect, you can simultaneously rotate the camera on its X axis while moving it up and down. This can be achieved by adding two motion controllers to the assembly, one for the rotation on the X axis and another to use the ping-pong effect for the up and down movement.
-
How do you switch between multiple cameras during an animation? To switch between cameras in an animation, you need to use a 'cam switch' motion controller. Place the 'cam switch 1' controller on the timeline corresponding to the duration of use for the first camera and position the 'cam switch 2' controller where the second camera is to take over. Remember to select the initial camera in the IPR combo box. This will smoothly transition the viewpoint from one camera to another.
-
What does the yellow icon in the IPR indicate during camera animation playback? If you see a yellow icon during camera animation playback within the IPR, it indicates you're viewing the scene from a non-actual position. To view the animation correctly, press the "home" icon, which will reset the viewpoint to the active camera perspective being animated and display the proper animation.
-
What are some ways to fine tune camera animations? Fine tuning animation includes adjusting motion controller timing, and manipulating keyframe placement to create the desired look and feel for the animations. For example, lengthening motion controllers to adjust speed and adjusting ease-out types and tension to smooth transitions.