Keyframes with Materials
Summary
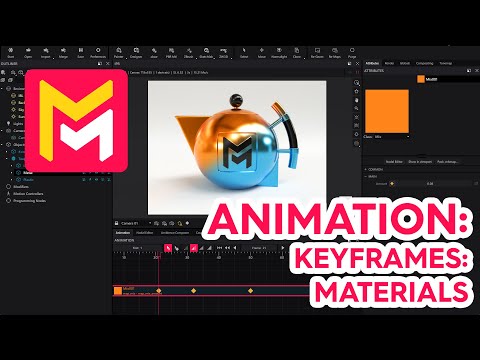
This YouTube video tutorial demonstrates animating material properties in the Maverick Render software. Keyframe animation is explained using a teapot model, showing how to animate parameters like metalness, roughness, and color. The tutorial covers techniques for creating, moving, and deleting keyframes, as well as transitioning between materials using a mix node and material blending. Advanced concepts such as full scrubbing mode and adjusting keyframe timing are also discussed. Finally, the video shows how to animate a transition between two different materials.
F.A.Q.
-
What parameters can be animated using keyframes in Maverick Render? Most material parameters in Maverick Render, indicated by a small diamond icon on their left, can be animated. This includes properties like metalness, roughness, and the amount slider in mix nodes for colors or material blends. You can animate these by setting keyframes on the timeline, defining parameter values at specific frames and thus creating animations through interpolation between these values.
-
How do I create a keyframe for a material parameter? To create a keyframe, select the material and its properties in the IPR (Interactive Path Tracer). Right-click on the desired parameter and select "Set Animation Key." This creates a keyframe at the current frame. You then move to the desired frame on the timeline and modify the parameter. A new keyframe is automatically created for that value at the new frame, thus creating animation between the key frames. The diamond icon on the parameter will turn fully yellow when positioned on a key frame.
-
How do I manipulate keyframes on the timeline? You can manipulate keyframes using the timeline. In "keyframe mode," you can select single or multiple keyframes to move them and adjust the timing of the animation. Keyframes can also be deleted or copied/pasted using the right-click context menu on the timeline. Moving multiple keyframes simultaneously will allow you to adjust multiple animation parameters concurrently and precisely.
-
How do I animate a color change when the color parameter is not directly animatable? To animate a color change, you need to use a mix node within the color plug of the material. Connect two colors to the mix node's primary and secondary color inputs. The mix amount slider allows you to transition between these two colors. Create keyframes for the amount slider at the desired frames to animate the color transition. This is achieved through the mix slider value moving from 0 to 1 over the defined keyframes.
-
Why might I not see my color animation while scrubbing through the timeline and how do I fix that? By default, full scrubbing mode might be disabled due to resource intensity and performance considerations. This might not display your animations live as you scrub the timeline. To see your color change animations while scrubbing, ensure that full scrubbing mode is activated. This will allow you to visualize color changes, particularly when using a mix node for color animation.
-
How can I create faster or more abrupt transitions using keyframes? To create faster transitions, position your keyframes closer together on the timeline. For example, to achieve a sharp or immediate change, set two keyframes with differing values very near to each other on the timeline. Adding multiple keyframes closer together can achieve the animation effect desired.
-
How do I animate a transition between two entirely different materials? To transition between two materials, utilize the material blend node. First, drag the materials from the library into the nodal editor. Connect the materials to material inputs of the material blend node and then connect the material blend node to the shader of the geometry in question. Then, animate the "weight" parameter of one of the materials, which will transition from one material to the other via interpolation between the keyframe values. By creating keyframes for the weight parameter, you can transition from one material to another on the geometry.
-
How can I remove all the animation keyframes from a material parameter? In the timeline context menu, when an animated parameter is selected, you can clear all keyframes for that parameter by using the "clear all keys" option. This option is very useful when you need to start the animation of a parameter over from scratch.