Introduction
Summary
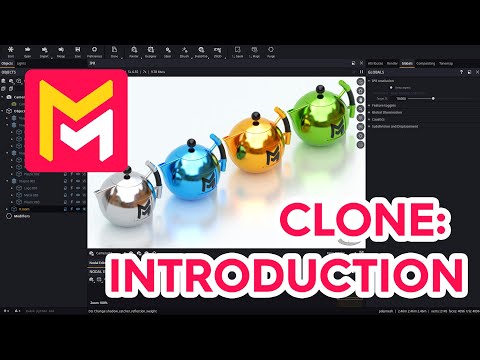
This YouTube tutorial introduces Maverick Render's new cloning system. The video explains different cloning methods: a simple clone, a clone with dependencies, and shortcut methods using Shift and Ctrl+Shift with the move tool. Key differences between these methods involve whether materials are linked or independent across cloned objects. The tutorial demonstrates how to manage material links using "explode" and "make unique" actions, showcasing practical applications in scene composition. Finally, the video encourages viewers to explore the system's creative possibilities.
F.A.Q.
-
What is the primary function of the new cloning system in Maverick Render? The primary function of the new cloning system is to allow users to easily duplicate objects or assemblies within a scene, with options to control how materials are handled in the cloned objects, either sharing the same material or creating independent instances.
-
What is the difference between the "clone" and "clone with dependencies" options? The regular "clone" option duplicates an object, but the clones will share the same material as the original. Changes made to the material of one clone will affect all other clones, as they are linked to the original material. "Clone with dependencies" duplicates the object and its materials. This means that each clone gets its own independent copy of the materials that can be edited separately.
-
How can you create clones using shortcuts, and what is the behavior? You can use the shift key while using the move tool to translate, rotate, or scale to create multiple clones. After selecting the move tool, holding shift will prompt for the number of clones you would like. These clones, however, will still share the same materials as the original object. To clone with dependencies using the shortcut, you should use Ctrl + Shift + Move, which clones the object with its materials.
-
If clones share the same material, how can they be edited independently? If clones share the same material, you can use the "explode" action. This can be done by right-clicking on the material in the material list or by selecting the object in the objects panel, then select its material and using the "make unique" action in the objects panel. These actions will create unique instances of the material for those specific objects or in the whole object hierarchy, allowing you to edit them independently of the other objects that share it.
-
Where is the "make unique" action accessible, and why? The "make unique" action is accessible from the objects panel, as this feature relies on knowing which object the material needs to be made unique for. Since the object hierarchy is visible in this panel, this ensures you are selecting the material in the context of the correct object you intend to be unique.
-
When cloning stickers, how does the cloning process differ in regard to materials? When cloning stickers, using the regular context menu clone will result in sharing the sticker's material among the clones. On the other hand, choosing "clone with dependencies" from the sticker's context menu creates a new, independent material for each sticker, allowing for independent edits.
-
What is the purpose of "purging" after deleting clones? Purging is done after deleting clones to remove any stray nodes, including unused materials, that may be left behind in the scene. This keeps your scene clean and efficient, and prevents any unnecessary files, unused data from interfering with your workflow or project file size.
-
How do the new cloning options benefit scene composition in Maverick Render? The new cloning options, especially the ability to easily create both linked and independent material clones, open up new possibilities for complex scene composition. Users can now quickly create intricate patterns and arrangements of objects, while having fine-grained control over material variations within their scene.