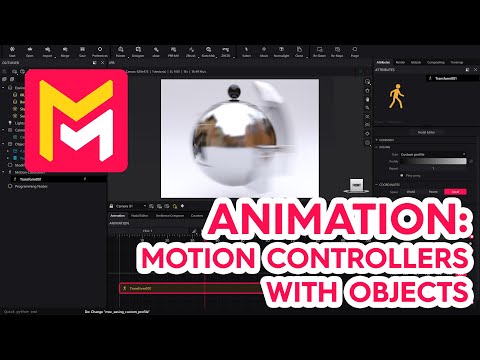
Motion Controllers with Objects
Summary
This YouTube tutorial introduces animation features in the Maverick Render software. It explains how to use motion controllers to animate object translation, rotation, and scaling, showing how to adjust parameters, manipulate timelines, and combine different animations. The video also covers using pivots and assemblies for complex rotations and experimenting with easing options for varied animation effects. Finally, it details how to render the completed animation within the software.
F.A.Q.
-
What are the key changes to the UI for animation in Maverick Render compared to previous versions? The most significant UI change is the unification of all scene objects-lights, cameras, and objects-into a single panel. Additionally, the animation layout is recommended for users who intend to animate, providing a more focused workspace. The timeline remains at the bottom of the interface.
-
How do I begin animating an object in Maverick Render? To start, you need to create a transform motion controller from the toolbar and then drop it onto the object you wish to animate. This controller allows you to animate translation, rotation, and scaling options by defining initial and final values for each parameter.
-
What is a transform motion controller and how does it work? A transform motion controller is a node that allows you to animate the movement of objects. It has options for translation (movement along axes), rotation, and scaling. For each parameter, you set an initial value and a final value, and the animation interpolates smoothly between these values as the timeline progresses.
-
Can multiple animations be applied to the same object, and how are they managed? Yes, you can apply multiple motion controllers to the same object, allowing for complex, layered animations. The order of these controllers in the timeline affects how they combine, so careful sequencing is important. You can also adjust the length and position of each controller on the timeline.
-
How can I make an object rotate around a specific point or target other than its own center? You can achieve this in a few ways. One way is to create a target object, and then activate the "pivot" option within the motion controller. Another method is to place the object inside an assembly and animate the assembly, allowing the object to rotate around the assembly's origin.
-
What are easing options and how do they affect animation? Easing options control the speed and acceleration of an animation. Instead of moving at a constant rate, easing can create a more natural motion, allowing an animation to start slow and speed up or start fast and slow down. Various types of easing are available (ease in, ease out, ease in-out, etc.), and a custom curve editor allows you to fine-tune easing to your liking. Additional options like repeat and pingpong are available to further customize your animations.
-
How can I preview an animation if the scene is too heavy for real-time playback? If your scene is complex, you can use the preview animation button, which will generate a preview MP4 video in your snapshots folder, allowing you to see the animation at full speed without the resource limitations of the viewport.
-
How do I render an animation and what rendering settings should I consider? To render an animation, go to the render panel and select the timeline tab. Ensure the resolution is correct and set in the globals combo box, if needed. Configure your desired rendering settings (like denoiser and sampling levels). Then, choose the timeline option of "full animation timeline", set your output path and then start your render. You will want to select between 7 and 9 for your sampling levels, and you will want to enable the denoiser for best results.
