Turntables
Summary
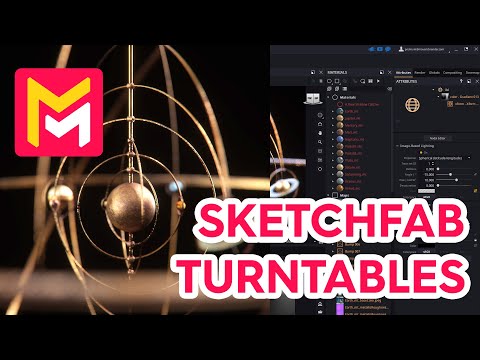
This YouTube video tutorial demonstrates how to create turntable animations in Maverick Render using a Sketchfab model. The process involves importing a GLTF file, adjusting settings like scale and axis orientation, configuring camera and lighting, and utilizing features such as depth of field and AI denoising. The tutorial also explains how to select the rotation axis for smooth animations and ultimately render high-quality turntable animations. Finally, the video showcases examples of animations rotating around different axes to achieve visually appealing effects.
F.A.Q.
-
What is the primary function of the tutorial you provided? The tutorial focuses on demonstrating how to create turntable animations of 3D models using Maverick Render, specifically for showcasing models originally sourced from Sketchfab. It guides users through the process of importing, setting up the scene, configuring camera and lighting, and ultimately rendering a rotational animation.
-
How do you import a Sketchfab model into Maverick Render according to the tutorial? First, download the model from Sketchfab in GLTF format and extract its contents. In Maverick Render, use the "Sketchfab importer" button and choose the extracted GLTF file. Then, specify the desired import environment and ensure the correct vertical axis and scale, adjusting units from millimeters if needed. Maverick automatically creates physically-based rendering (PBR) materials from the model's textures.
-
What are some key steps to set up the scene for a turntable animation in Maverick Render? Key steps include switching the orbit mode to "surface" for easier navigation, adjusting the camera's focal distance, setting the output resolution for the turntable animation and ensuring the IPR takes its aspect ratio from the turntable dimensions, adding a suitable background ambience, enabling depth of field and setting a focus point, locking exposure and adjusting aperture, saving camera viewpoints, and using the light mixer to fine tune lighting.
-
How do you configure and customize the turntable animation itself? Configuration involves selecting the rotation axis, using either the scene centroid or a specific object as the pivot point. The tutorial explains how to select an object as the pivot, including copying its name and using the filter within the object pivot dialog. After that, the rotation length, start angle, and target sampling level can be set. The AI denoiser can also be enabled for a cleaner final render.
-
What is the importance of the "pivot object" in creating the turntable animation, and how does the tutorial demonstrate this? The pivot object determines the center point around which the model rotates. If the model's centroid doesn't produce the desired rotation axis, selecting a more appropriate object, like the sun in the provided example, allows for fine-tuning the rotation axis. The tutorial provides step-by-step instructions on selecting and using an object as the pivot, specifically copying the objects name and filtering it.
-
What are some rendering options discussed in the tutorial, and what are their effects? The tutorial discusses setting output resolution, using the AI denoiser to reduce render noise, and adjusting the target sampling level to balance quality and rendering time. It also mentions options for the output file name and format, specifying JPEG. The tutorial also points out that a draft render for preview or a final render can be produced.
-
How are different rotation axes utilized in the tutorial? The tutorial initially demonstrates a turntable animation rotating around the Z-axis. Then, a second animation is created, this time rotating around the X-axis to illustrate how changing the rotation axis can achieve a dynamic look. The importance of checking the axes to see if the rotation fits the intended purpose is also highlighted.
-
What is the render performance, as indicated in the tutorial? The tutorial indicates that on a system with an NVIDIA RTX 2080 GPU, the average render time is about 10 seconds per frame, providing a benchmark for rendering the type of animation covered in the tutorial.