Workflow
Summary
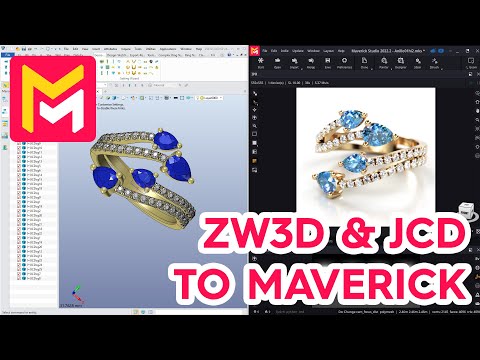
This YouTube tutorial demonstrates a jewelry workflow using ZW3D and Maverick Render. The process involves exporting a model from ZW3D as a STEP file, importing it into Maverick Render, applying materials and textures, and adjusting lighting and camera settings. The tutorial covers material application techniques, camera controls, and render settings, including the use of denoising for faster rendering. Finally, it showcases the creation of turntable animations within Maverick Render.
F.A.Q.
-
What is the general workflow for using ZW3D and Jewelry CAD models in Maverick Render? The workflow involves first preparing your model in ZW3D by assigning different colors or materials to various parts (e.g., metal, stones) to make it easier to apply materials in Maverick. You then export your model as a STEP file. In Maverick, you import this STEP file and then apply different materials, lighting, and camera settings to create photorealistic renders.
-
How should I prepare my ZW3D model for Maverick Render, specifically regarding colors and materials? In ZW3D, assign different colors or materials to distinct parts of your model. For example, set the metal parts to a gold color, gemstones to blue, and diamonds to a diamond material. This allows Maverick to recognize these selections, making material application smoother.
-
What are the minimum system requirements for running Maverick Render? Maverick Render only works with NVIDIA graphics cards, requiring a minimum of the 1000 series or newer. It is also recommended to have the latest NVIDIA drivers installed for optimal performance.
-
How do you navigate and set up the rendering environment in Maverick Render? When you first open Maverick, you can set your preferred navigation method, like the ZW3D style. You will import your STEP file, select an environment preset (usually from the studio or lightbox category for jewelry), verify the scale of the model, and then adjust settings like the IPR (interactive preview render) to full screen and enable the denoiser for faster renders.
-
How are materials applied and adjusted in Maverick Render? Maverick has a library of materials categorized by metals and gems. You can apply materials by dragging them directly onto groups or individual objects. If you want to apply a material to all objects with a certain material type, like all the diamonds, hold the 'alt' key while dragging. Properties of materials, such as specularity or roughness, can also be modified. Additionally, the 'roundness' tool can be used to soften the sharp edges.
-
What are some key camera settings and techniques for jewelry rendering in Maverick Render? For jewelry, it’s advisable to use a focal length of at least 100mm to minimize distortion. The camera position can be set and saved, enabling easy return to a specific view after experimenting. Additionally, Maverick offers autofocus and depth of field controls, which allows the user to specify which part of the piece should be in focus and to add a subtle blur effect for realism.
-
How can lighting and reflections be adjusted to enhance the final render? Maverick provides various preset lighting environments which can be swapped. You can also add individual light sources, position them with the norma light function and adjust their intensity and color. The reflection on the ground plane, which is frequently used in jewelry renderings, can be adjusted for subtle or dramatic results.
-
How do you create a turntable animation and render a final image? To create a turntable, you configure the render resolution and activate settings like the denoiser. In the Turntable settings, you can specify what elements should rotate, like the camera or the object, and the duration of the animation. You can preview a draft render to check settings. Once satisfied, you can trigger the final render. For final images, the process is similar but without the rotation settings. After rendering, you can directly open the file.